Arctic Fire Pit Performance: How to Choose and Tune a Pit That Actually Works in the Cold
If you've ever lit a beautiful flame on a freezing night, only to watch your guests slowly retreat indoors, you're not alone. This step-by-step guide walks through arctic fire pit performance with a practical cold climate fire pit comparison so you can understand what truly keeps people warm, comfortable, and neighbor-friendly when temperatures drop.
I'll walk you through a simple process: clarify your conditions, choose the right technology, pick durable materials, then tune placement and operation. Along the way, we'll keep sight of what matters most: ease, safety, low smoke, and conversation that doesn't compete with roar, hiss, or coughs.
Comfort is a system. Once you tune it, hospitality starts to feel effortless.
Step 1: Map Your Real Cold-Weather Scenario
Before comparing fire pits, get clear on the environment you're asking them to perform in. "Cold" means very different things in Atlanta vs. Calgary.
1.1 Capture your typical winter use-case
Grab your phone's weather history or just your memory and answer:
- Temperature band:
- Cool shoulder evenings: 40-55°F (4-13°C)
- Cold: 25-40°F (-4-4°C)
- Arctic / sub-zero stretch: consistently below 20°F (-7°C)
- Wind pattern where you sit:
- Sheltered courtyard with swirling gusts?
- Exposed deck with a prevailing wind?
- Balcony with wind tunneling down a high-rise alley?
- Ground and surroundings:
- Wood/composite deck, pavers, concrete, gravel, or snow/ice?
- Nearby siding, railings, pergola, or fabric awnings?
These factors drive:
- How much cold weather fire pit BTU you actually need
- Whether radiant or convective heat will help you more
- What's even allowed by codes and insurance
1.2 Quick compliance check
Because you're in dense neighborhoods and shared air, do a fast pass on:
- HOA / landlord rules: Gas only? No open flame on balconies? Quiet hours?
- City ordinances: Wood bans, setback requirements, spark screen rules
- Deck and building safety:
- Clearance from walls, soffits, railings
- Minimum distances from combustible surfaces
If you're on a balcony or rooftop, assume:
- Wood burning firepit is often restricted
- Propane or natural gas with CSA/UL-listed equipment is usually the expected path
Once you have your scenario, you can evaluate technology realistically instead of by marketing promises. If you're weighing fuel types, our gas vs wood fire pits gives a clear framework before you pick specific models.
Step 2: Understand How Heat Really Works in the Cold
A lot of frustration with arctic fire pit performance comes from assuming "more BTUs = more comfort." In cold air, that's only part of the picture.
2.1 Radiant vs. convective heat
Radiant heat is what you feel on your shins and face (like the sun on your skin).
- Travels in straight lines from flame or hot surfaces
- Less affected by wind
- Critical below ~45°F (7°C), when air itself feels harsh
Convective heat is warmed air.
- Great for mild evenings and close-in seating
- Blows away faster in wind or sub-freezing air
Gas fire tables with lots of cold weather fire pit BTU but minimal glowing mass may look impressive yet feel oddly weak on a windy 30°F night. See measured heat pattern data to understand warmth radius and seating comfort in real conditions. By contrast, a modest output pit with thick, hot walls can feel surprisingly toasty because it radiates well.
2.2 What BTU numbers actually mean for you
Rough, experience-based guidance for a cold climate fire pit comparison (assuming 2-6 people seated):
- Cool evenings (45-55°F / 7-13°C, light wind):
- 25,000-40,000 BTU gas pit often feels adequate
- Small wood pit with good coals works well
- Cold (30-45°F / -1-7°C, moderate wind):
- 40,000-60,000 BTU gas pit, or
- Medium wood pit with high, sustained coal bed
- Below ~25°F / -4°C or breezy:
- Even 60,000+ BTU can feel underwhelming without:
- Wind shielding
- Close seating
- Warm clothing and blankets
Notice how solutions quickly become system questions, not just device questions. That's intentional.
Comfort is calibrated: distance, height, flame, and mindful hosting.
Step 3: Choose the Right Sub-Zero Fire Pit Technology
Now let's compare main categories through a cold-climate lens, focusing on sub-zero fire pit technology, smoke, and neighbor-friendliness.
3.1 Traditional wood burning firepit
What it is: Open bowl or chiminea burning split logs.
Cold-weather performance:
- Pros
- Strong radiant heat when you've built a deep coal bed
- Works fine in very low temps (no fuel performance loss from cold)
- No concern about propane tank pressure dropping in freezing weather
- Cons
- More smoke, especially with damp wood or shifting wind
- Harder to control heat precisely; guests may roast on one side and chill on the other
- Embers and sparks are a concern near siding, railings, or dry landscaping
In urban or HOA-heavy areas, the smoke and ember risk often outweigh cold-performance advantages.
3.2 "Smokeless" / secondary-burn wood pits
What it is: Double-walled stainless or steel pits drawing in air at the base, then re-burning smoke at the top vents when hot enough.
Cold-weather performance:
- Pros
- Reduced visible smoke once fully up to temperature
- Intense radiant heat from hot sidewalls, useful in sub-freezing air
- Works with standard split wood
- Cons
- Still smoke-prone during start-up, refueling, or with damp wood
- Needs good airflow; swirling courtyard winds can push smoke into faces
- Metal can radiate too intensely up close for kids and pets
For cold climates, these can be powerful "radiant engines," but they demand dry fuel, patient start-up, and mindful placement relative to wind and neighbors.
3.3 Pellet-burning pits
What it is: Designed to burn wood pellets, often via gravity feed; flames can be surprisingly tall for their size.
Cold-weather performance:
- Pros
- Consistent fuel size and moisture -> more predictable burns
- Strong radiant output from concentrated flame
- Easy to store pellets in sealed bins in snow country
- Cons
- Some designs are more about spectacle than warmth
- Refueling mid-burn can be awkward
- Still wood-based, so there is smoke and odor, though often less than random split logs
Pellets can be a good compromise where you want solid-fuel ambiance but more controllability.
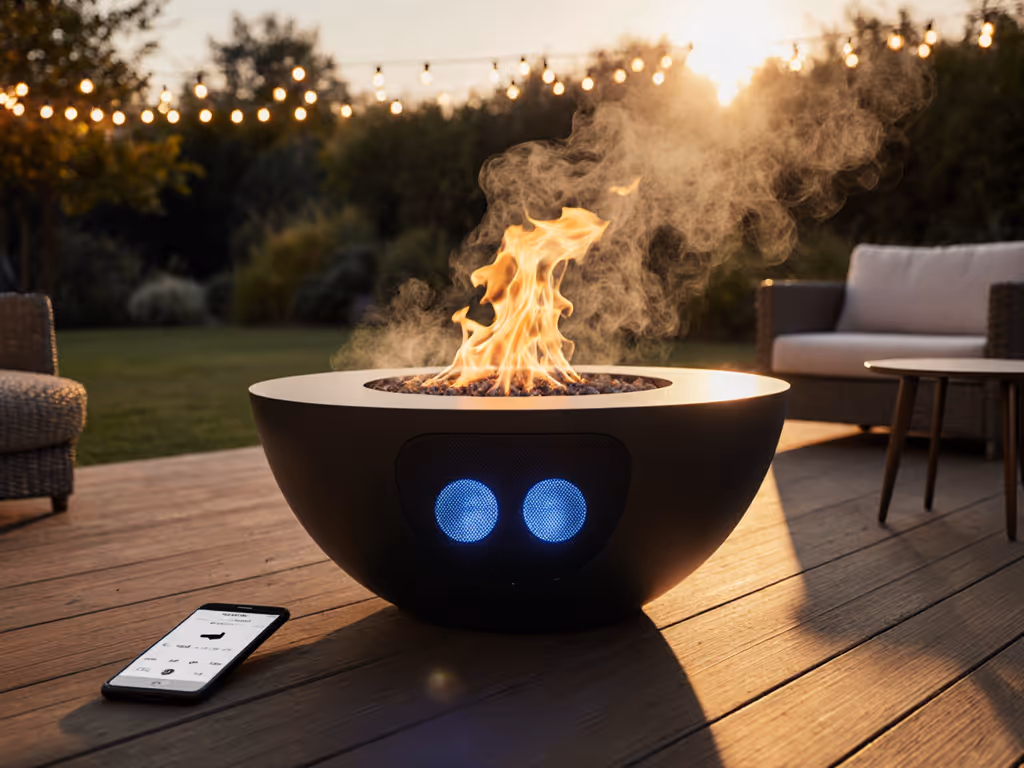
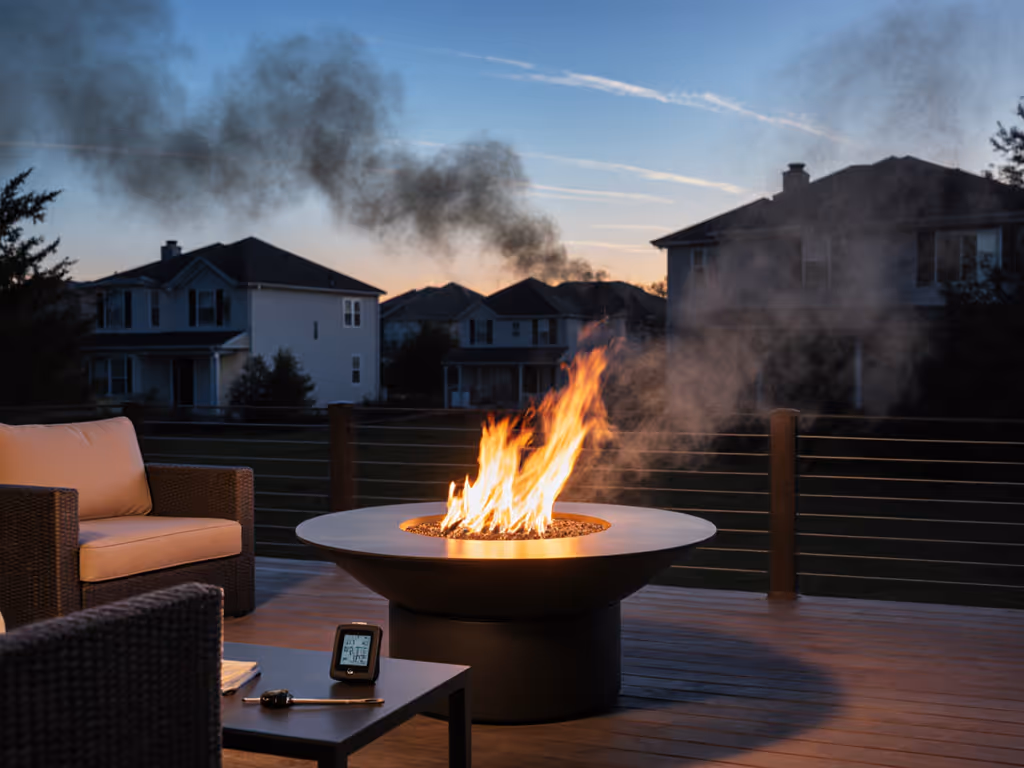
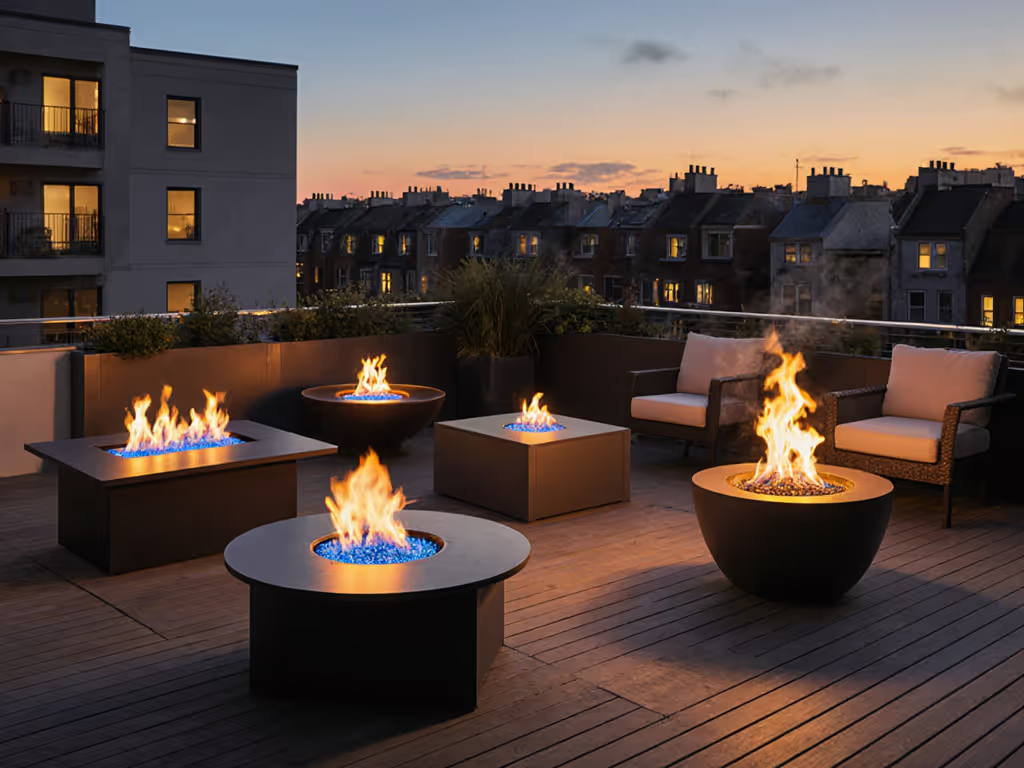
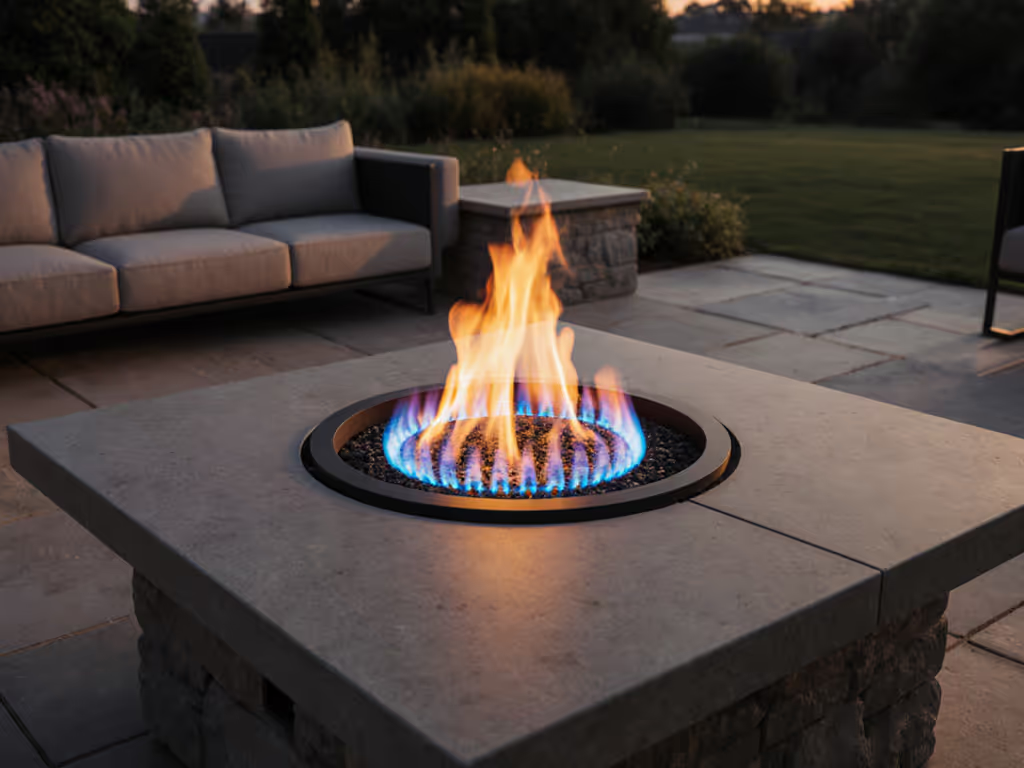
3.4 Propane or natural gas fire pits
What they are: Burners hidden under media (lava rock, ceramic logs, glass) in a bowl or table; fed from a tank or hardline.
Cold-weather performance:
- Pros
- Fast, clean ignition (critical when it's 20°F and no one wants to fuss)
- Very low particulate emissions, better for neighbors and asthma-prone guests
- Easy cold weather fire pit BTU adjustment on the fly
- No ash, minimal post-event cleanup
- Cons
- Radiant warmth can be less intense without design tweaks (e.g., reflective panels, close seating)
- Propane pressure drops in extreme cold; you may need larger tanks or tank blankets
- Open flames are more affected by wind, flame gets pushed sideways or "eaten" by gusts
On small decks and balconies, gas is often the only compliant option, and the quiet-host favorite when tuned correctly.
Sub-zero tip: For regular use below freezing, consider:
- Higher-output burners (50,000+ BTU) paired with closer seating and some wind protection
- Media that heats and glows, not just decorative glass
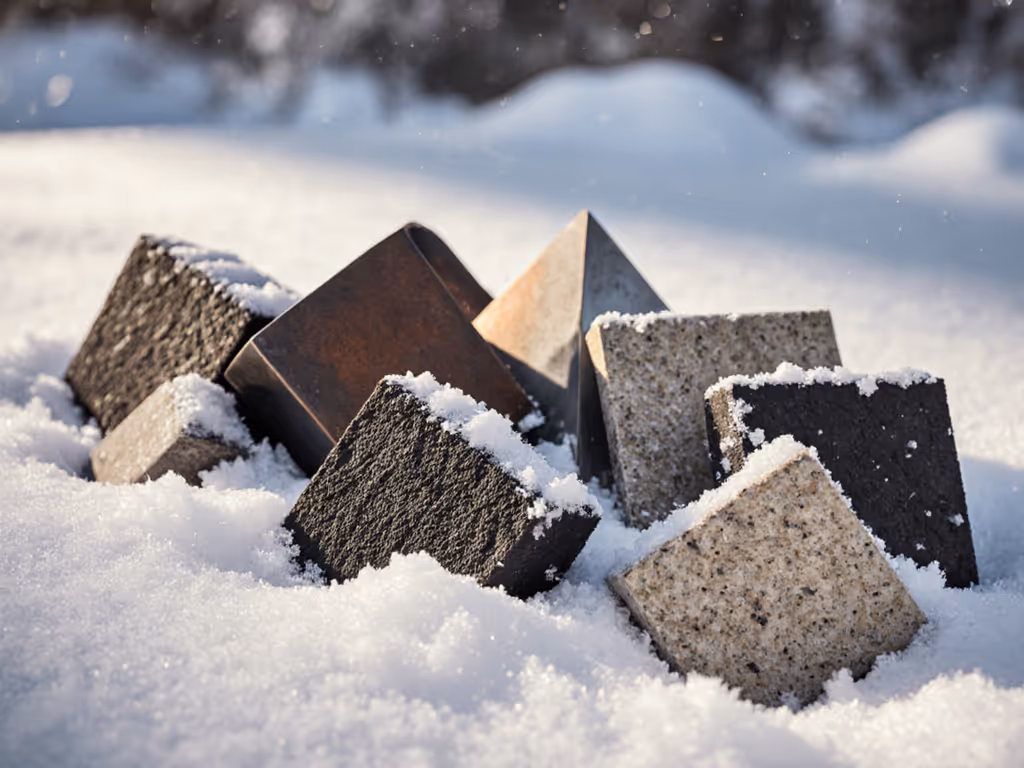
Step 4: Choose Snow-Resistant Fire Pit Materials
Cold, moisture, and road salt can age fire pits fast. This is where snow-resistant fire pit materials matter.
4.1 Metal choices
- Stainless steel (304):
- Common in mid- to high-end pits
- Good rust resistance in typical climates
- Can discolor with high heat; cosmetic but not usually structural
- Stainless steel (316):
- Better for coastal or heavily salted environments
- More expensive but more resistant to pitting and rust
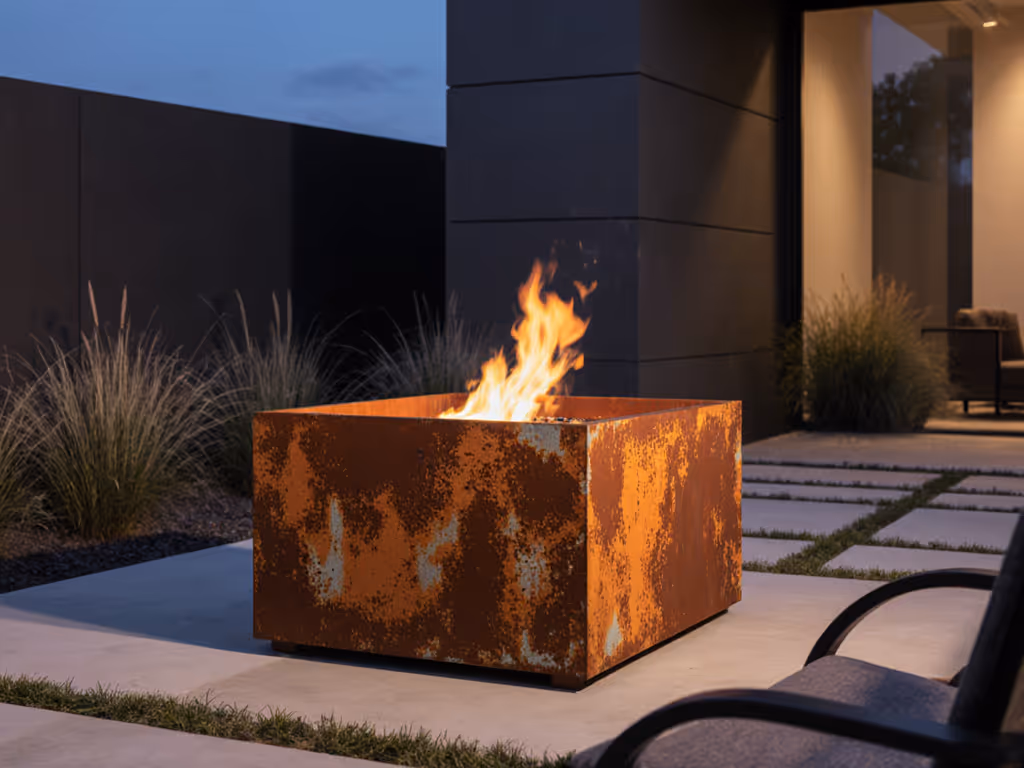
- Corten / weathering steel:
- Designed to form a stable rust-like patina
- Great for sculptural, modern looks
- Needs good drainage; sitting in wet snow can still cause issues
- Powder-coated carbon steel:
- Attractive, often budget-friendly
- Vulnerable where coating chips or gets scraped by shovels or logs
For true arctic exposure, prioritize drainage holes, slightly elevated legs or base, and a well-fitted cover. For a deeper breakdown of stone, steel, cast iron, and copper in harsh climates, check our materials comparison.
4.2 Surfaces and protection on decks and patios
- On wood/composite decks:
- Use a rated heat shield or deck protector under the pit
- Maintain clearance specified by the manufacturer, sides and above
- Consider a spark screen if burning wood
- On pavers or concrete:
- Still use a mat if there's polymeric sand or sealed surfaces you don't want stained
- On snow or ground:
- Elevate the pit so meltwater doesn't flood the firebox
- Avoid burying legs in drifts; freeze-thaw cycles can distort thin metal
Step 5: Layout and Comfort Zoning in the Cold
This is where engineering meets hosting. I once spent an evening mapping temperatures at knees and shoulders around a winter fire, adjusting pit height and wind screening. A few quiet tweaks, and everyone unzipped their jackets and stayed later (dog included).
You can do a lighter-weight version at home.
5.1 Set your seating radius
For 2-6 people, a practical guide:
- High-output wood or "smokeless" pit:
- Seating ring ~3-5 ft (0.9-1.5 m) from the outer edge
- Kids and pets at the outer edge, adults closer
- Medium-output gas table (30-50k BTU):
- 2-3 ft (0.6-0.9 m) from flame center on cool nights
- Closer (2 ft) in temps below ~35°F (2°C), with blankets
- High-output gas pit (50-80k BTU):
- Start at 3-4 ft, adjust in based on wind and clothing
The goal is even, relaxed warmth, no one leaning in and out every 30 seconds.
5.2 Manage wind without noisy gadgets
Wind is the quiet host's biggest enemy. Instead of blasting more BTUs or adding loud fans:
- Reposition, don't fight: Move the pit so prevailing wind hits guests' backs, not faces.
- Use low-profile wind breaks: Planters, benches, or a short privacy screen can dramatically reduce heat loss.
- Consider a glass wind guard on gas tables:
- Helps keep flames upright
- Reduces "flame theft" in gusts
- Usually adds a subtle, not flashy, aesthetic
Avoid high-speed blowers or noisy accessories that raise the background noise floor. Your guests came for conversation, not equipment. If breeze is your main challenge, see our windy-area fire pits with setup tips that tame gusts without extra noise.
5.3 Dial in height and line-of-sight
In the cold, height matters:
- Low bowl pits: Great radiant heat to shins and feet but can leave upper body cold in very low temps.
- Mid-height tables (20-25 in / 51-64 cm): Better chest and lap warmth, often ideal for dining chairs.
- Taller columns: Good for stand-up mingling but less seated comfort.
Aim for a flame or glowing surface roughly level with seated laps for maximum perceived warmth.
Step 6: Run a Cold-Night Fire Pit Protocol
Here's a practical "flight checklist" you can follow any time you're using your pit in serious cold.
6.1 Before guests arrive
- Check conditions:
- Temperature, wind direction/speed, and any air quality alerts
- Confirm rules:
- Burn bans? AQI restrictions on wood? Respect them.
- Set the layout:
- Arrange chairs at your planned radius
- Place blankets and side tables so people don't have to hover over the flame
- Stage your fuel:
- Wood or pellets: dry, staged away from seating area
- Propane: tank at safe distance, upright, with hose routed neatly and safely
6.2 Light and warm-up
- Wood / pellet pits:
- Start 20-40 minutes before guests arrive
- Use a top-down method with dry kindling to reduce early smoke
- Resist the urge to overload; you want a hot, clean burn, not a smoldering pile
- Gas pits:
- Light 5-10 minutes before
- Start at medium flame, let media warm up, then adjust
6.3 During the evening
- Watch faces and posture: Are people leaning back from smoke or leaning forward for warmth? Adjust flame, seating, or wind block, not just BTUs.
- Wood:
- Add small amounts of fuel more often rather than big dumps that create smoke
- Keep logs within the firebox; use a lid or screen if embers pop
- Gas:
- Nudge output with changing wind; sometimes a small increase paired with a wind guard is better than maxing out
6.4 Shut-down and safety
- Wood / pellets:
- Let fuel burn down to coals
- Spread coals, then fully extinguish per manufacturer guidance, no hidden embers near decks or dry landscaping
- Gas:
- Turn burner off first, then close tank or shutoff valve
A quick perimeter check (looking for warm spots on decking, stray embers, or wind-blown ash) protects both your home and your relationship with neighbors. For season-specific guidance on sub-zero hosting, follow our winter fire pit guide.
Step 7: Example Cold-Climate Setups You Can Copy
To make this practical, here are three patterns you can adapt.
7.1 Small city balcony (likely gas-only)
- Constraints: HOA, limited space, neighbors above and below
- Recommended:
- Compact propane or natural gas table, 30-50k BTU
- Glass wind guard around burner
- Rated heat shield or stand to protect decking
- Comfort tweaks:
- Seats 2-4 at ~2 ft from flame center on cold nights
- One side open to air for ventilation, back side tucked against building wall for draft reduction
7.2 Courtyard or townhome patio in snow country
- Constraints: Swirling winds, attached neighbors, variable temps
- Recommended options:
- Secondary-burn wood burning firepit if wood is allowed and you can manage smoke
- Or mid-height gas pit with 40-60k BTU and some mass (lava rock, ceramic logs)
- Comfort tweaks:
- Short privacy screens or planters positioned to block prevailing gusts
- Seating band 3-4 ft out for wood, 2.5-3 ft for gas
- Dedicated storage for dry wood/pellets or covered propane tank hideaway
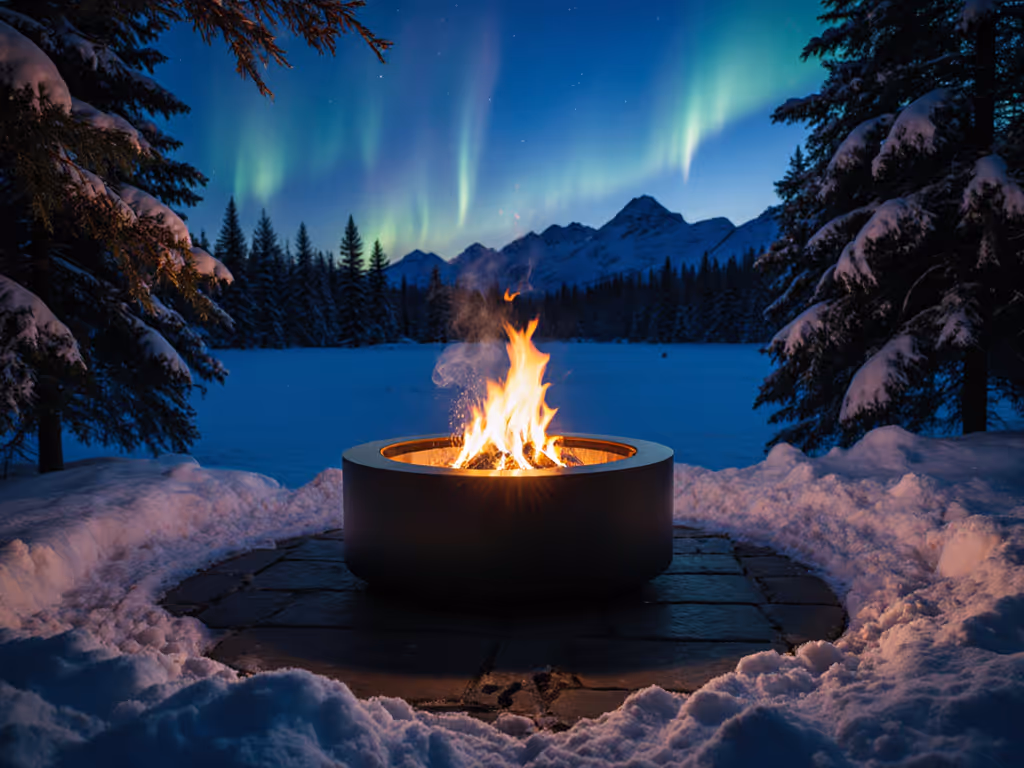
7.3 Larger backyard in true arctic conditions
- Constraints: Very low temps, but more space and flexibility
- Recommended setup:
- Robust secondary-burn or traditional wood pit for radiant power
- Optional supplementary gas table nearer the house for lower-key nights
- Comfort tweaks:
- Fire pit slightly elevated; partial wind wall or snowbank behind guests
- Layers: people wear insulated clothing and use blankets; pit is the finishing layer, not the only one
- Clear snow in a safe radius, no ice where people step while adjusting chairs
In all three scenarios, your success comes less from chasing maximum BTUs and more from treating the pit as one part of an integrated comfort system.
Your Next Step: Run a One-Night Mini Test
To turn all this into something you can feel (literally) set up a simple experiment on your next cold evening:
- Pick one realistic temperature band (for you, maybe that's 35-45°F).
- Set your pit and chairs as you normally would. Light the fire.
- After 10-15 minutes, ask each person:
- "How do your feet feel?"
- "How do your knees and lap feel?"
- "How does your chest and face feel?"
- Make one gentle tweak at a time:
- Move chairs in or out by 6-12 inches
- Add a small wind block
- Lower or raise flame slightly
Notice how those small adjustments often matter more than raw output.
Repeat that layout the next time you host. You've just created your own, evidence-based winter setup (no guesswork, no drama, just a calibrated circle where people actually want to linger).
Comfort is a system. When you tune distance, height, flame, and your own mindful hosting, arctic fire pit performance stops being a gamble and becomes a quiet ritual you can rely on all winter long.