Fire Pit with Seating: Build Safe & Code-Ready
By Kenji Sato • 16th Apr
A fire pit with seating offers the promise of warmth, conversation, and outdoor ritual, but only if it's designed to meet local codes, protect your property, and respect your neighbors' comfort. Building an outdoor fire pit with seating isn't simply a matter of stacking stones and pulling up chairs. It's a deliberate spatial and material choreography that separates a weekend success from a citation or a complaint. This guide walks through the analytical framework (clearances, base construction, seating geometry, and material safeguards) that transforms a fire pit from a feature into a reliable, compliant gathering point.
Why Clearances and Codes Come First
Safe nights start with clearances, lids, and shared expectations. Before you measure materials or scout your yard, establish what your municipality and homeowner association actually permit. Fire pit regulations vary dramatically by jurisdiction: some require minimum distances from structures (often 10-20 feet), clearances to overhanging branches, spark screens, or fuel restrictions. Others prohibit wood-burning entirely or limit use to certain seasons or AQI thresholds[2].
The reason is material: open flames produce radiant heat, ember escape, and smoke drift (all of which travel beyond the fire pit's footprint). Neighboring properties, shared walls, and composite decking add complexity. If your fire pit violates setback rules or triggers ash complaints, the social and legal cost far exceeds the upfront build.
Action first: Contact your local fire marshal's office and HOA (if applicable) with a sketch of your intended setup, including distances to siding, railings, and property lines. Request the clearance minimums in writing. This single step (which many skip) becomes your compliance baseline and your defense.
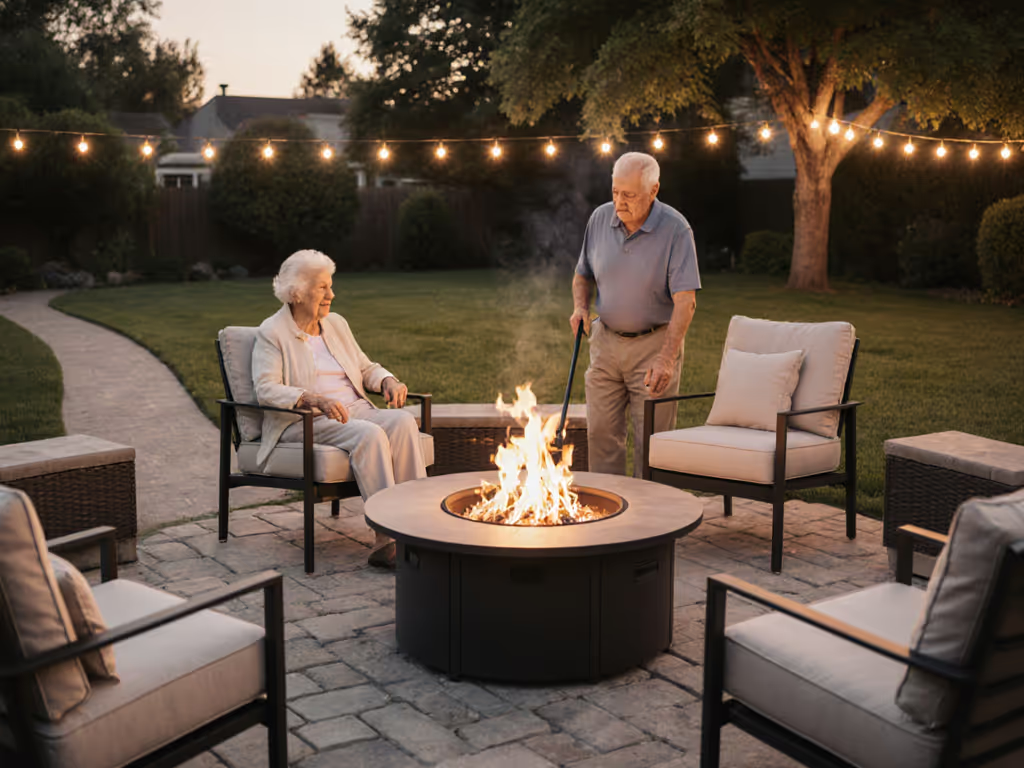
How Wide Should Your Fire Pit Be, and How Far Should Seating Sit?
Commercial and DIY fire pits typically range from 24 to 48 inches in diameter. Larger diameters (48-72 inches) suit sprawling patios; smaller units (24-36 inches) fit courtyards and deck corners. The seating distance is not arbitrary: it's governed by radiant heat intensity and comfort zones. Use our fire pit sizing calculator to choose pit dimensions and seating capacity that fit your space and comfort goals.
Research confirms that 18 to 24 inches from the edge of the fire pit to the edge of your seat provides a comfortable balance of warmth without overwhelming heat[7]. In cooler climates where you prioritize heat, seating can sit at 18 inches; in mild climates, 24-30 inches allows relaxed conversation without scorching[7]. These distances assume a standard wood-burning or gas fire pit with typical flame height (12-18 inches).
For a built-in fire pit with seating, the layout often uses concentric circles. A common working geometry is:
- Inner circle (fire pit): 2-3 feet diameter, dug or bordered
- Middle ring (heat zone and walkway): 4-6 feet diameter, paved with stepping stones or gravel to allow foot traffic and heat dispersal
- Outer ring (seating perimeter): 10-14 feet diameter, lined with benches, stumps, or folding chairs[1][2]
This 10-14 foot overall diameter seats 4-6 people comfortably and keeps conversation within normal voice range. Tighter layouts invite excessive heat and limit sightlines; larger layouts dilute warmth and make social focus diffuse.
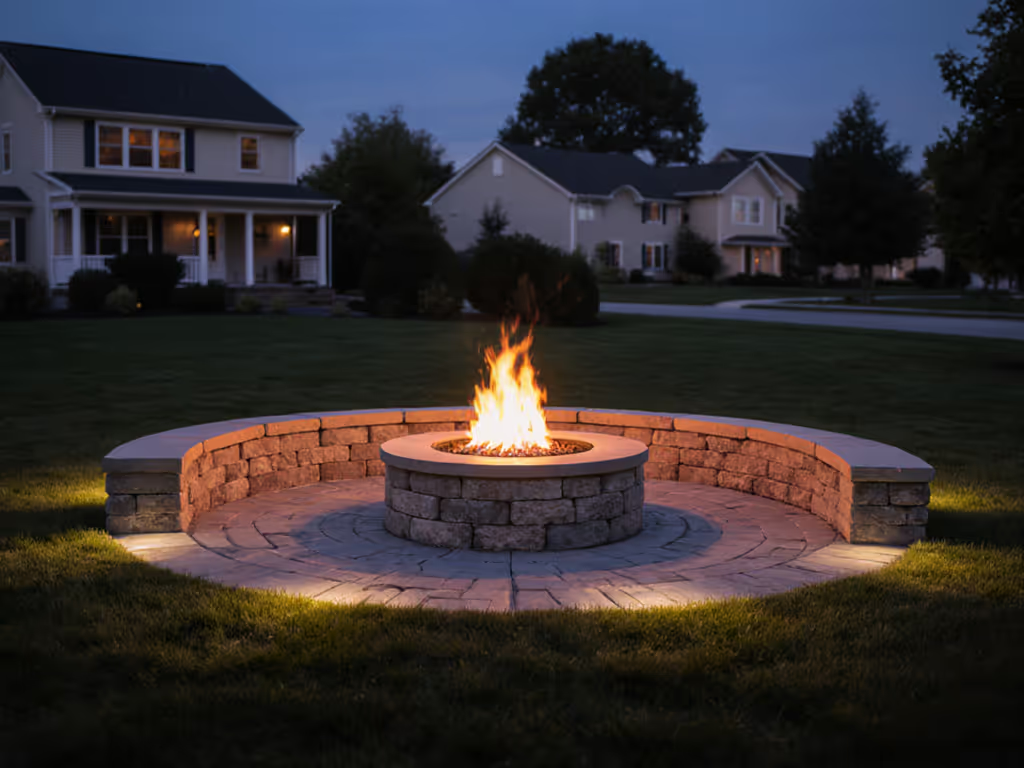
What Is the Proper Base Construction?
The foundation of a long-lived, safe fire pit is its base. Improper drainage leads to rust, wood rot (on wood-frame patios), and structural failure of stone or pavers. For a step-by-step build with materials and airflow notes, see our DIY smokeless fire pit guide.
Standard base stack (from bottom to top):
- Gravel layer: 3-4 inches of drainage rock at the very bottom, allowing water and air to escape[1][2]
- Sand layer: 2-3 inches of coarse or medium sand, compacted lightly and leveled with a 2×4[1][2]
- Surface: Your fire ring (metal, ceramic, or firebrick) or bordered stone courses[2]
For outdoor living space design that includes a seating surround, extend the logic:
- Dig out the fire pit area to 12-14 inches deep[2]
- Line the bottom with gravel
- Add sand, level, and tamp
- If you're building a stone or paver ring, apply landscape adhesive in a zigzag pattern between courses and stagger stones for structural integrity[1]
- Leave small gaps between blocks (especially on the lower courses) for oxygen flow and drainage[1]
For the seating surround (the 4-14 foot outer zone):
- Outline the perimeter with landscape edging[1]
- Spray the interior with herbicide and wait 24 hours[1]
- Lay landscape fabric with fabric pins to suppress weeds[1]
- Top with pea gravel, slate stepping stones, or mulch depending on aesthetics and maintenance tolerance[2]
This layered approach (gravel, sand, fabric, and top dressing) ensures that your fire pit doesn't settle unevenly, and the surrounding seating zone stays weed-free and level. No substitutions: proper drainage is the difference between a five-year lifespan and a twenty-year asset.
How Do Material Choices Affect Safety and Durability?
The type of fire pit vessel and seating material directly impacts safety, maintenance, and neighbor harmony.
Fire pit vessels:
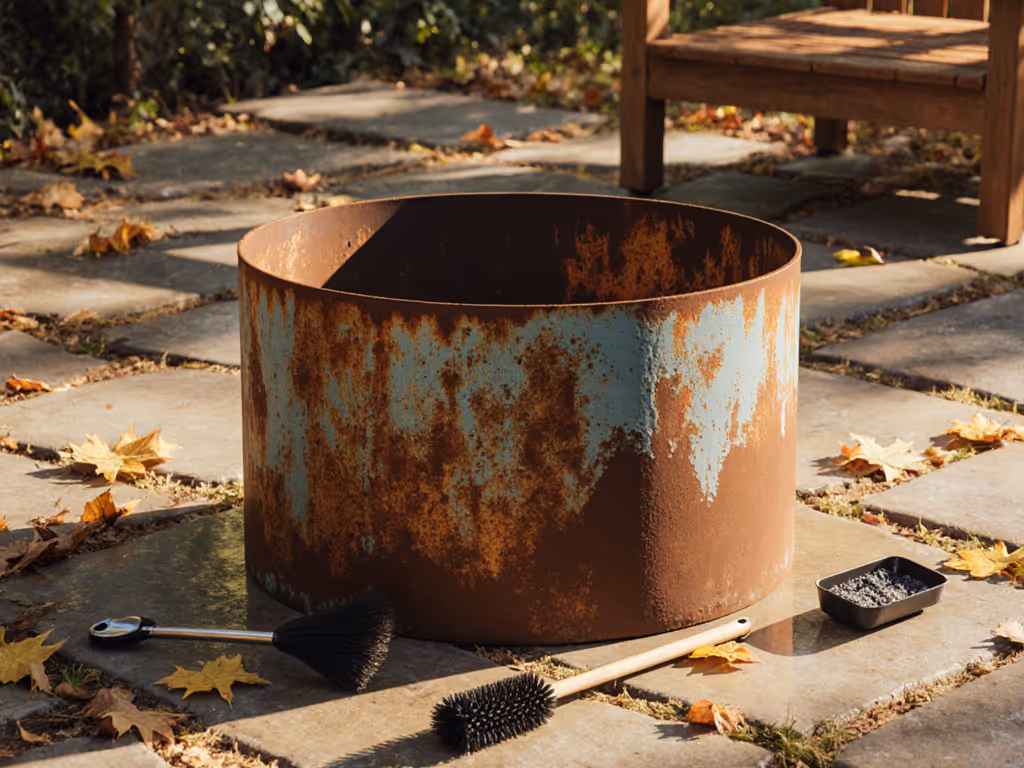
- Metal fire rings or steel bowls: Affordable, portable, and durable in dry climates. In wet or coastal zones, they rust without protective coating or covers. Heat-safe for composite decks if elevated on metal legs and spaced 18+ inches above the deck surface.
- Ceramic or refractory brick inserts: Expensive but excellent heat retention and temperature resistance. Suitable for permanent built-ins. Brittle if dropped or cracked by rapid cooling.
- Cast iron or ductile iron rings: Long-lasting and excellent radiant heat. Heavy; limit portability. Requires seasoning and post-fire cleaning to prevent rust.
Seating materials:
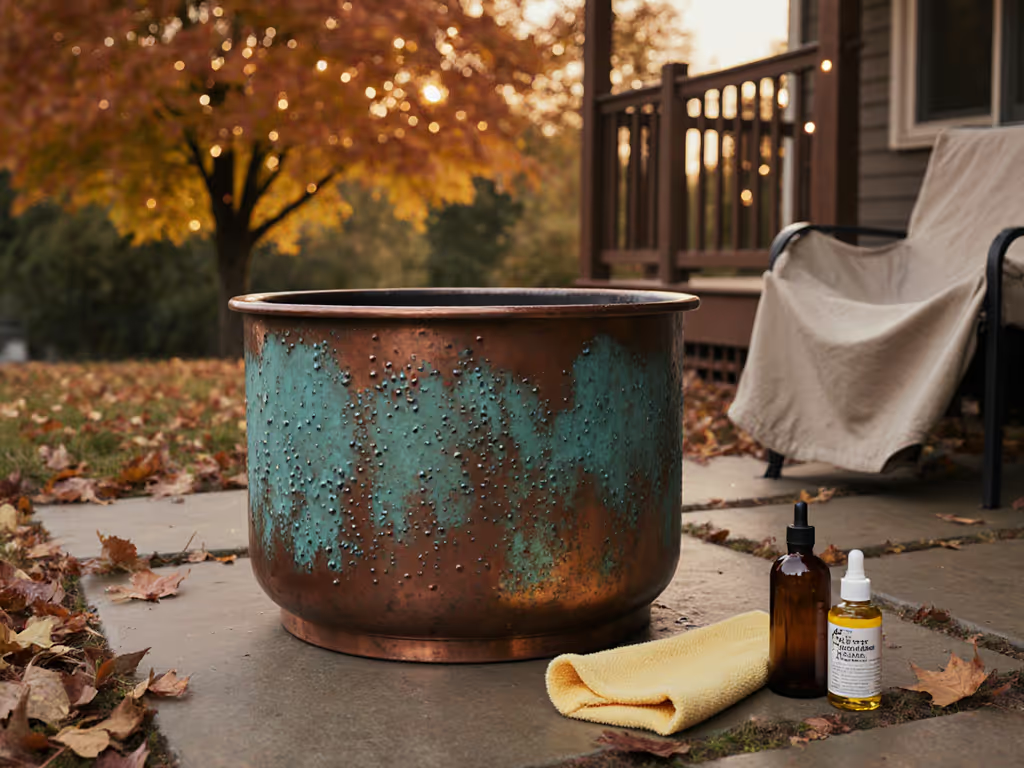
- Wood stumps or benches: Natural, affordable, and Instagram-friendly. Apply two coats of exterior wood sealant and allow 24-48 hours for drying[4]. Reseal every 2-3 years in humid climates. Rot risk near ground in damp zones.
- Stone or concrete: Durable and low-maintenance. Cold to sit on; add cushions or blankets. Frost-heave risk in freeze-thaw climates.
- Metal or composite: Weather-resistant and minimal maintenance. Can be hot to touch after extended heat exposure.
The rule: No exceptions to materials and clearances. Using uncertified or undersized materials to save cost invites code violations, property damage claims, or insurance denials.
Reducing Smoke and Managing Neighbor Concerns
The most common complaint about fire pits is smoke drift and lingering odor. While a diy smokeless fire pit cannot eliminate smoke entirely, design and fuel choices minimize it. If smoke sensitivity is a concern for your household or neighbors, compare our verified smokeless fire pits tested for low emissions.
Smoke mitigation:
- Site placement: Position the fire pit downwind of neighboring homes and bedroom windows. Observe prevailing wind patterns in your yard for a full week before finalizing the location.
- Fuel selection: Dry, seasoned hardwood (oak, maple, ash) burns hotter and produces less smoke than softwood or damp wood. Never burn treated lumber, plastic, or chemical-soaked materials.
- Clearance to overhanging branches: Trim branches within 10-15 feet of the fire pit to prevent smoke pooling and heat damage to foliage[2].
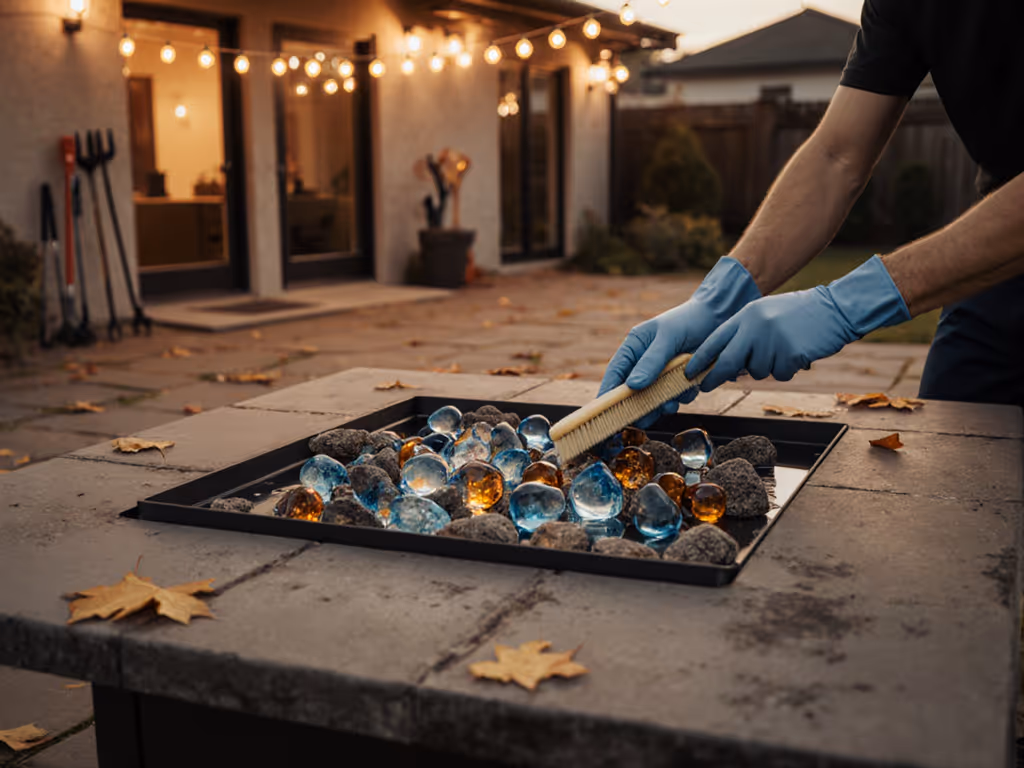
- Spark screen or lid: Use a spark arrestor screen (1/4-inch or finer mesh) during evening hours to contain embers and reduce visible particulates.
- Use windows for assessment: Periodically check neighboring properties at dusk for smoke visibility. If smoke pools at a neighbor's window, relocate seating or reduce fire intensity.
Transparency matters: inform immediate neighbors of your fire pit plans and invite them to discuss placement. A five-minute conversation often prevents weeks of tension.
Building the Seating Layout
When arranging seating, prioritize symmetry and safety over aesthetic convenience.
Step-by-step seating arrangement:
- Stake the center: Drive a post into the center of your planned fire pit ring[1][2].
- Mark concentric zones: Use garden twine with a loop, run it from the center stake to create circles at 2 feet (fire pit), 6 feet (inner walkway), 10 feet (seating edge), and 12 feet (outer perimeter)[1][2].
- Spray the boundaries: Walk the twine with marking paint held close to the ground, marking visible lines[1].
- Dig and level: Remove turf, apply landscape herbicide, and allow 24 hours for settling[1].
- Install edging and fabric: Anchor landscape edging around the perimeter and secure landscape fabric with pins[1].
- Add top dressing: Spread gravel or pea gravel, ensuring the surface is level and firm. Compact with a light hand-tamp[1][2].
- Place seating: Position benches, stumps, or chairs in a circle, maintaining the 18-24 inch distance from the fire pit edge[7]. For six people, allow roughly 60 inches of arc per seat.
Safety that fades into the background happens when every element (base, clearance, material, and layout) is verified before the first fire is lit.
Compliance Checklist Before You Light the First Fire
Before inviting guests, complete this verification checklist:
- Clearances verified: Distances to siding, railings, overhanging branches, and property lines meet local code (in writing from your fire marshal or HOA).
- Base construction complete: Gravel and sand layers installed, compacted, and leveled; no settling or water pooling observed after rain.
- Seating zones marked and measured: 18-24 inch clearance from fire pit edge to nearest seating, and all seating is stable and level.
- Material inspection: Metal pit is rust-free or sealed; wood seating is sealed and shows no rot; no undersized or non-compliant components.
- Spark screen or lid on hand: For evening use and rapid emergency containment.
- Neighbor notification (if applicable): Immediate neighbors informed of placement, anticipated use dates, and your commitment to smoke and noise minimums.
- Fire extinguisher or water supply nearby: Hose, bucket, or Class B/C extinguisher visible and within arm's reach.
- Fuel sourcing confirmed: Only dry, seasoned hardwood or certified propane or pellets; no treated materials.
Further Exploration
As you design your fire pit with seating, deepen your investigation by consulting your municipal fire code (typically available online) and requesting a site inspection from your local fire marshal if your setup is unconventional or large. Consider engaging a landscape architect or contractor for sites with challenging slopes, utilities, or dense proximity to neighbors (the cost of a one-hour consultation often prevents costly mistakes).
Document your fire pit's dimensions, materials, and clearances in a photo or sketch file. If you later relocate or modify the setup, or if a neighbor or HOA inspector asks questions, you'll have evidence that your design meets code. This transparent, measured approach transforms a backyard fire pit from a source of anxiety into a quiet, repeatable source of comfort and connection.
Related Articles